 Back to the app
User guide
Everything from your first sign-in to planning and navigating a full day of linked lanes, in the order you'll actually meet it. Jump to any section, or read it start to finish.
Prefer to watch? Short walkthroughs are on our YouTube channel. Step-by-step videos for each section below are on the way.
Part 1
Holloway's map itself needs a free sign-in, just an email address, no password and no card. Everything else about the free tier is exactly as open as it's always been.
Every coloured line on the map is a real, mapped legal route, colour shows difficulty, easy through severe. Grey dashed lines are not legal for a motor vehicle, restricted byways and footpaths, shown for reference only.
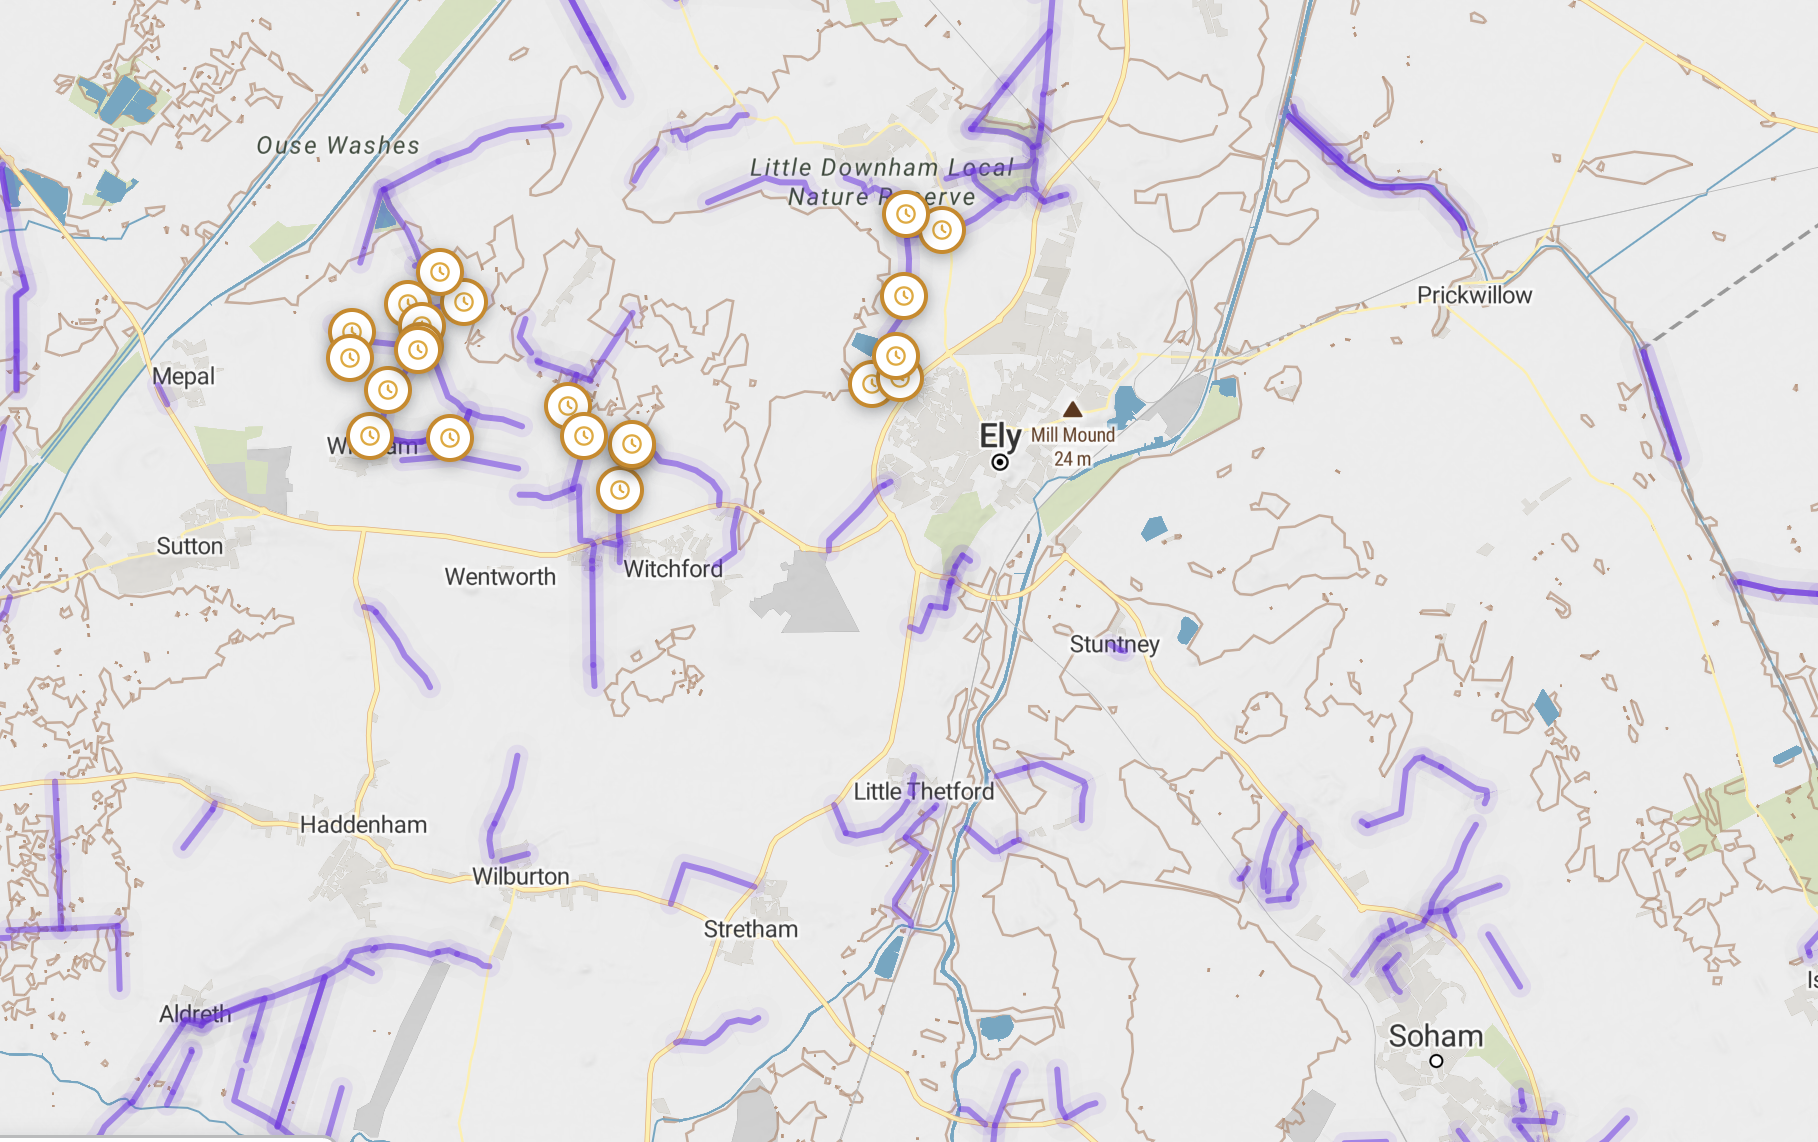
Before touching filters by hand, tell Holloway what you're riding. In the sidebar, set "Show me: up to..." to your comfort ceiling, then tick "Heavier or loaded adventure bike" or "New to green laning" if either applies. Each one drops the ceiling by a grade, and they stack, so a new rider on a loaded ADV bike sees a genuinely easier map straight away. Fine-tune with the difficulty chips afterwards if you want.
Part 2
This is the single most important part of the app. Legal status can change with no warning, always check it here before you go.
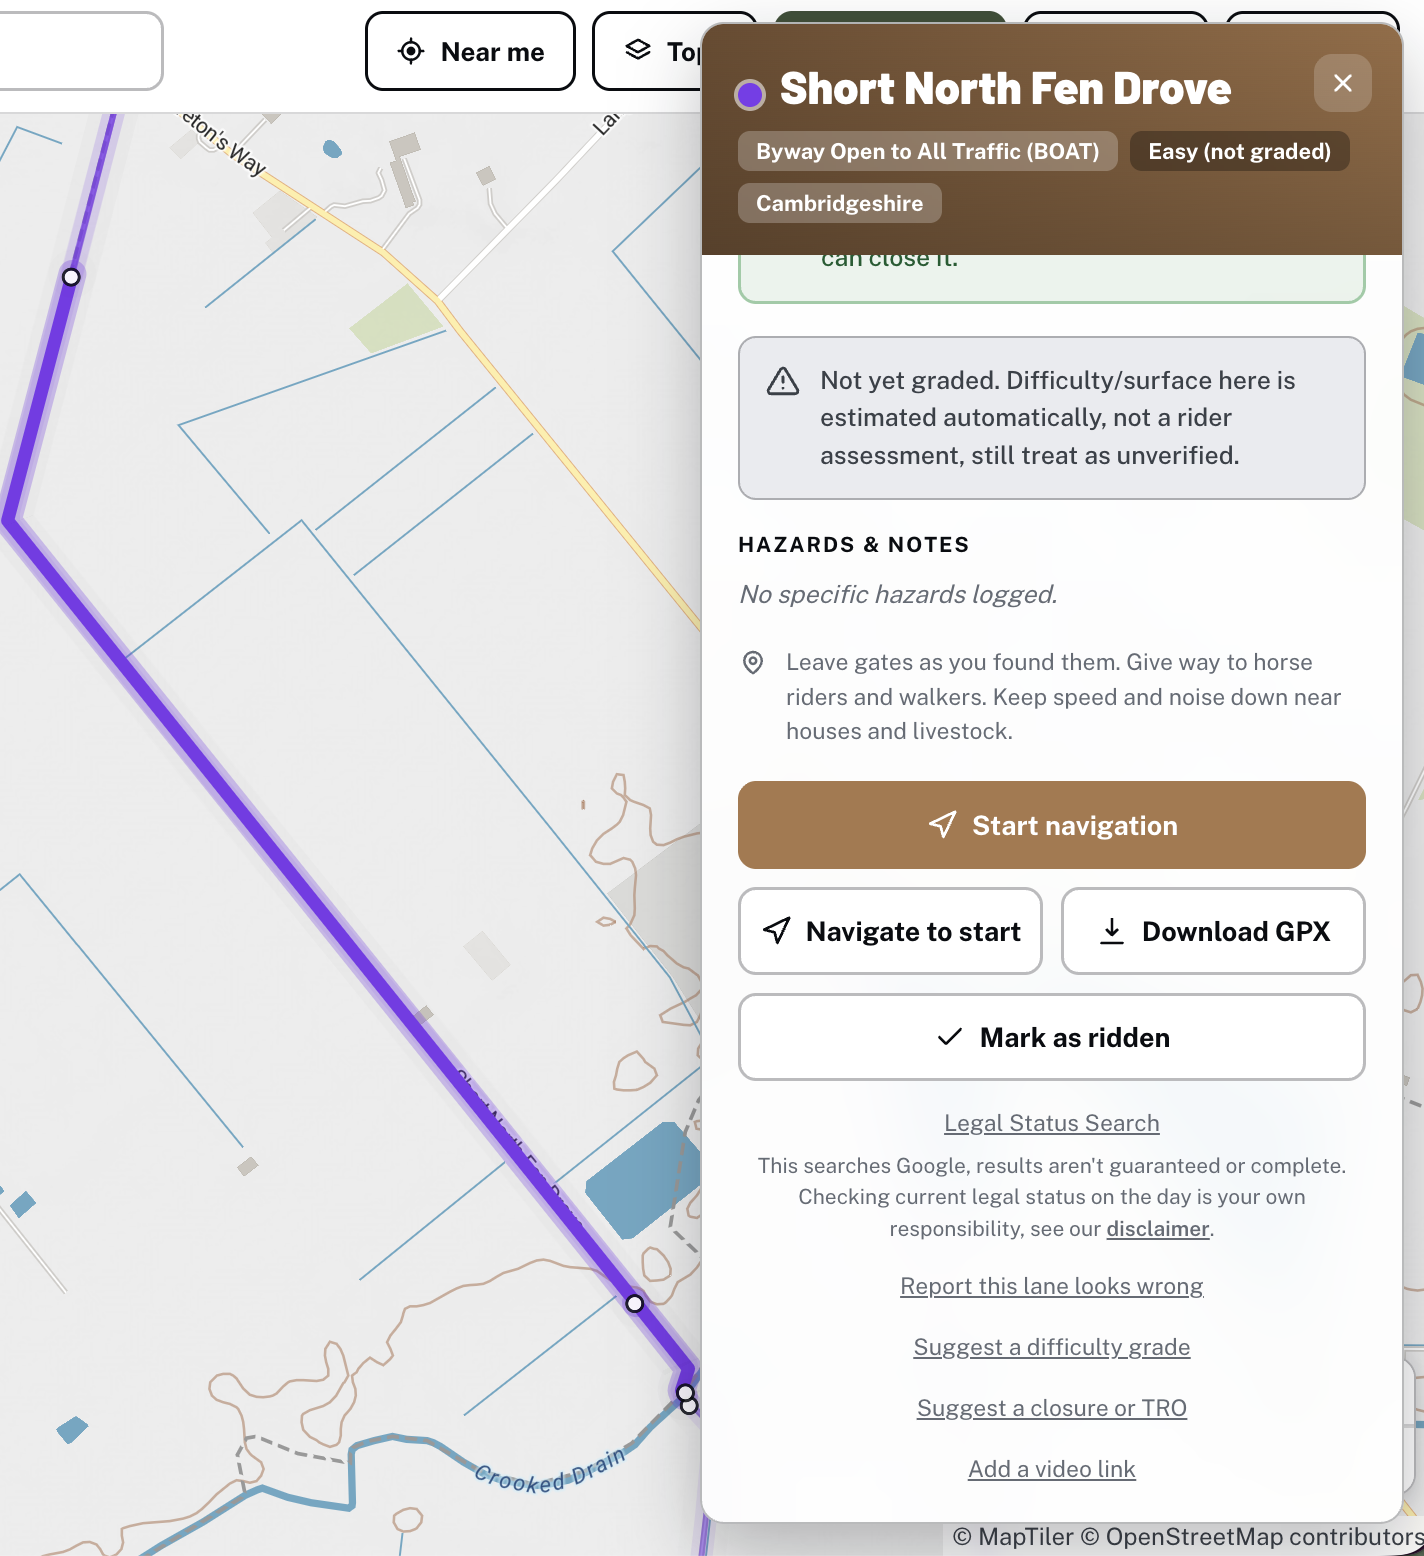
Every card shows the lane's length, hazards, and a plain-language legal status: "BOAT (legal to ride)", "UCR (county road)", "Restricted byway" (not legal), and so on. A "Not yet graded" tag means it's a raw import with a placeholder difficulty, not an actual assessment.
Holloway's own closure data is maintained by hand, not a live council feed, so it can never be complete. Two things to check on the day, not just once when you first found the lane:
Tap "Near me" to track your live GPS position, best outdoors on a phone. A laptop with no GPS chip will still give a rough fix, just expect it to be less precise.
Part 3
Tap "Mark as ridden" on any lane's detail card. Menu > "My ridden lanes" lists everything you've done, with a running total distance.
Tick "Show points of interest" in the sidebar filters to bring up historic sites, ruins and landmarks near the map, not just lanes. Tap one for a write-up, a photo and a "Navigate to this" button. It's rolling out region by region, so a quiet area may just not have been added yet.

Part 4
All free, no Holloway Premium needed, just the sign-in you already have.
Ridden a lane and think its difficulty is wrong, or spotted something that needs fixing? "Suggest a difficulty grade" or "Report this lane looks wrong" on that lane's own detail card, both go straight to a moderator.
"Add a video link" on a lane's detail card lets you attach a YouTube link of that lane being ridden. Approved links show right on the card with a thumbnail.
Part 5
Menu > "Install Holloway" (or your browser's own install prompt) adds it to your home screen like a real app, no app store needed.
Once you've opened the app online at least once, lane data (name, legal status, difficulty, hazards) is cached in full and works with zero signal anywhere in the country. Map tiles are different, they only cache for an area you've actually looked at while online, so genuinely new territory still needs a first connection to show the visual map.
Part 6
"Navigate to start" on any lane's card hands off to Google Maps. On a lane with two genuine road ends, it asks which one you mean first, both marked on the map with real compass directions and distances so you can actually tell them apart.

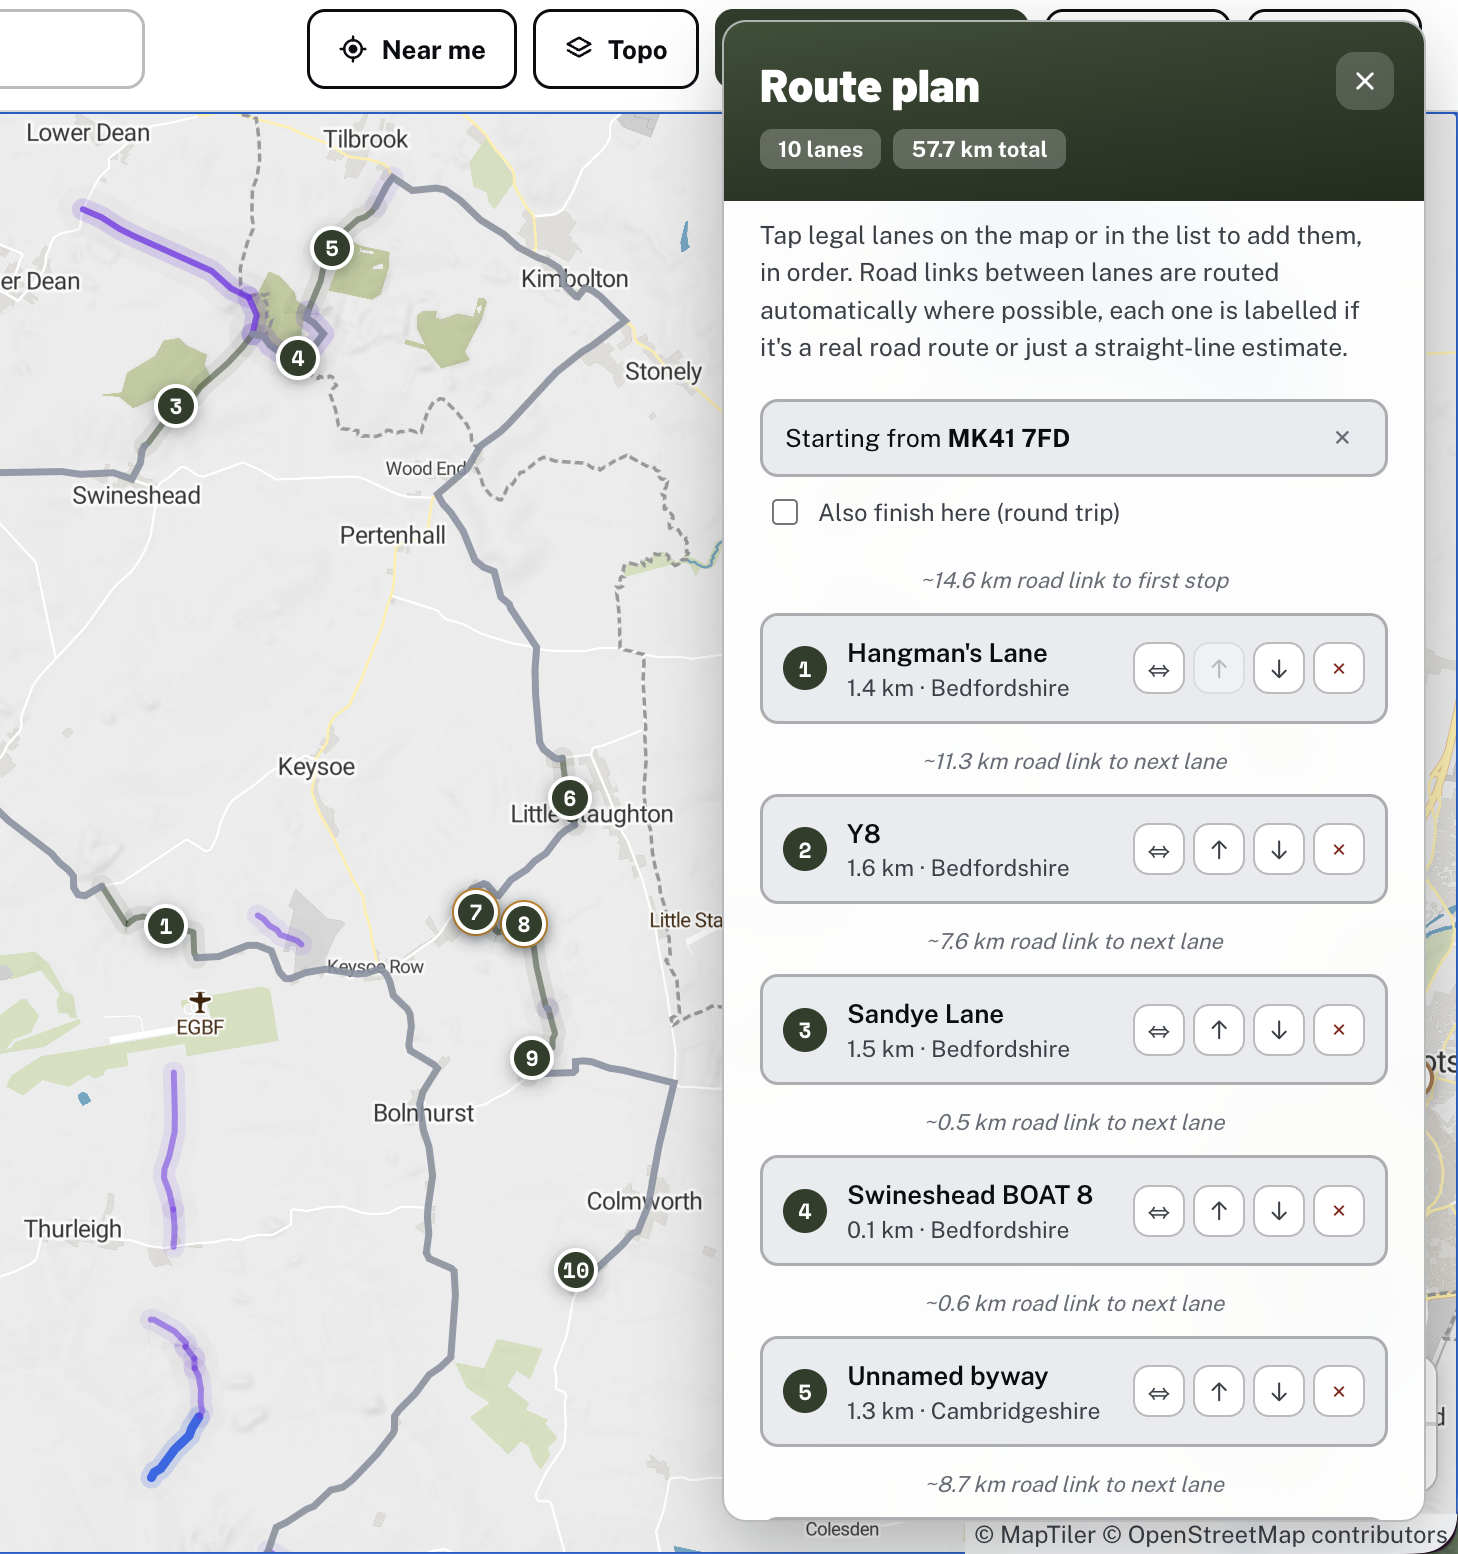
"Start navigation" on a planned route takes over the screen with a moving, tilting map that follows you as you ride: distance remaining, your speed, a rough ETA, which lane's coming up next, and a warning if you stray off route. The road links between lanes get real turn-by-turn ("Turn left onto Water Lane in 350m"), the lanes themselves don't, there's no road-network data to generate that from, so it's "next lane in X" instead, closer to a dedicated off-road GPS unit than a car sat-nav. Your screen stays awake the whole time.

Download a single lane's GPX from its card, or a whole planned route's combined GPX from the route panel. Menu > "Export shown lanes as GPX" exports everything currently on screen, filtered and searched down to whatever you want, a whole county, say. "+ Save this route" in the route panel keeps a named route on your account to reload or re-export later, and "Import GPX & navigate" (Menu) loads a track from elsewhere straight into live navigation.

Part 7
Menu > Settings switches every on-screen distance between km and miles, GPX files always stay in km. "Lock map to north" stops an accidental two-finger rotate on a touchscreen from spinning the map.
Menu > Account shows your plan and a "Manage subscription" button, Stripe's own portal, cancel any time, no minimum term. "Delete account" there removes your profile, ridden log and home postcode straight away.
Part 8
Holloway is more than the map, none of this needs an account.